
EV Charger Installation in Sassafras: How Forward Planning Cut Cost and Mess
How JPG Tech installed an EV Charger for a client in Sassafras, and what went into the installation process.
Key Takeaways
- Planning for an EV charger while upgrading a switchboard can save time, avoid visible cabling and reduce future labour costs.
- Pre-running cabling and leaving spare capacity in the switchboard makes later upgrades, like solar, far simpler and tidier.
- A 7 kW, 32 A charger is a strong residential option that can add roughly 40–50 kWh across an overnight charge window, which comfortably covers most daily driving when used for regular top ups rather than 0–100 percent charges.
- Homeowners in the Dandenong Ranges, South East Melbourne and the Yarra Valley can use this approach to get “charge ready now, solar ready later” in one well planned project.
Quick answer: how do you future proof your home for EV charging and solar?
The simplest way to future proof your home is to design the electrical work around where you want to be in a few years, not just today. That usually means upgrading the switchboard if required, running dedicated cabling while access is open, and leaving spare capacity in the board and roof space for solar and other larger loads.
In practice, this can turn a complex second visit into a straightforward, clean install with no visible conduit and lower overall cost. That is exactly what happened for Jack, a homeowner in Sassafras.
Project background: planning ahead in Sassafras
A few months before buying his EV, Jack engaged JPG Tech to upgrade the main switchboard at his home in Sassafras. During the visit he mentioned that an electric vehicle was on the cards in the near future. Rather than treat that as a separate project later, we used the switchboard upgrade as the ideal moment to plan ahead.
While the board was open and the under floor access was available, we installed dedicated cabling from the switchboard to the planned charger location in the car space. This meant the hard work of routing cables through the home was already done, ready for a simple charger connection once the car arrived.
The plan: clean, safe home charging with room to grow
When Jack later picked up his EV and called us back, the brief was clear. He wanted a home charger that was:
- Fast enough for overnight top ups
- Neat, with no exposed conduit on walls
- Ready to work alongside solar when panels are installed
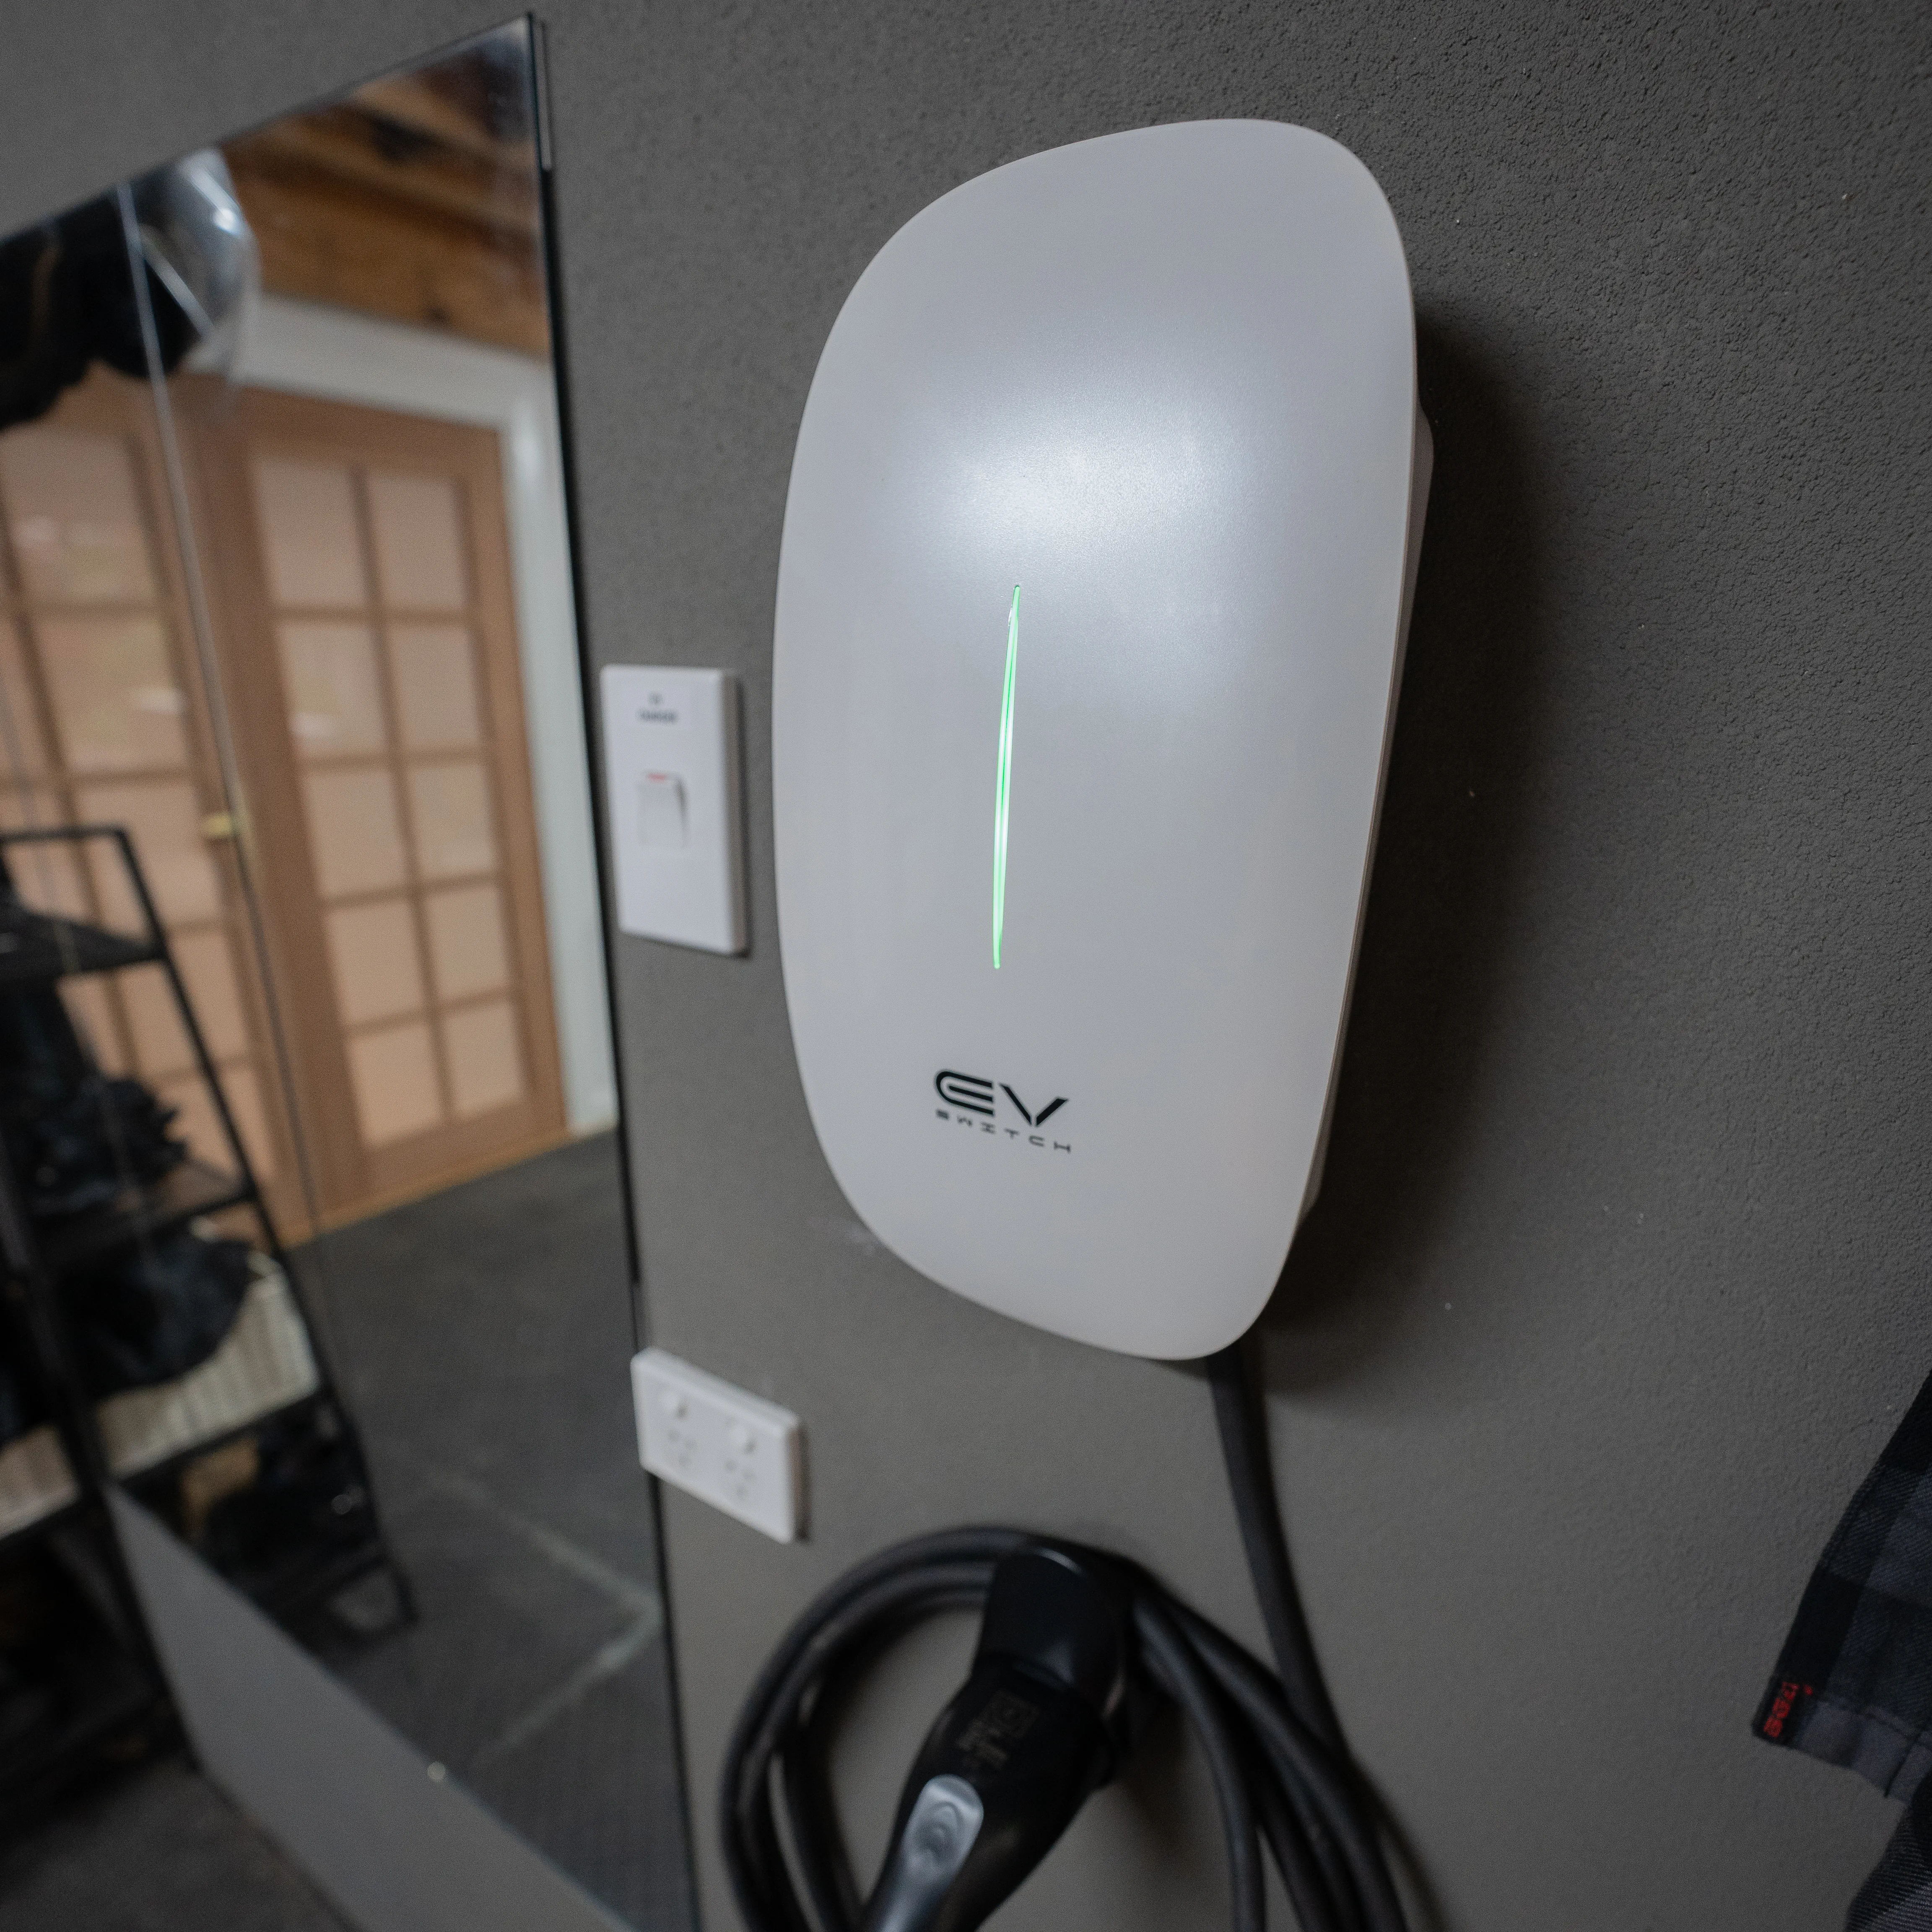
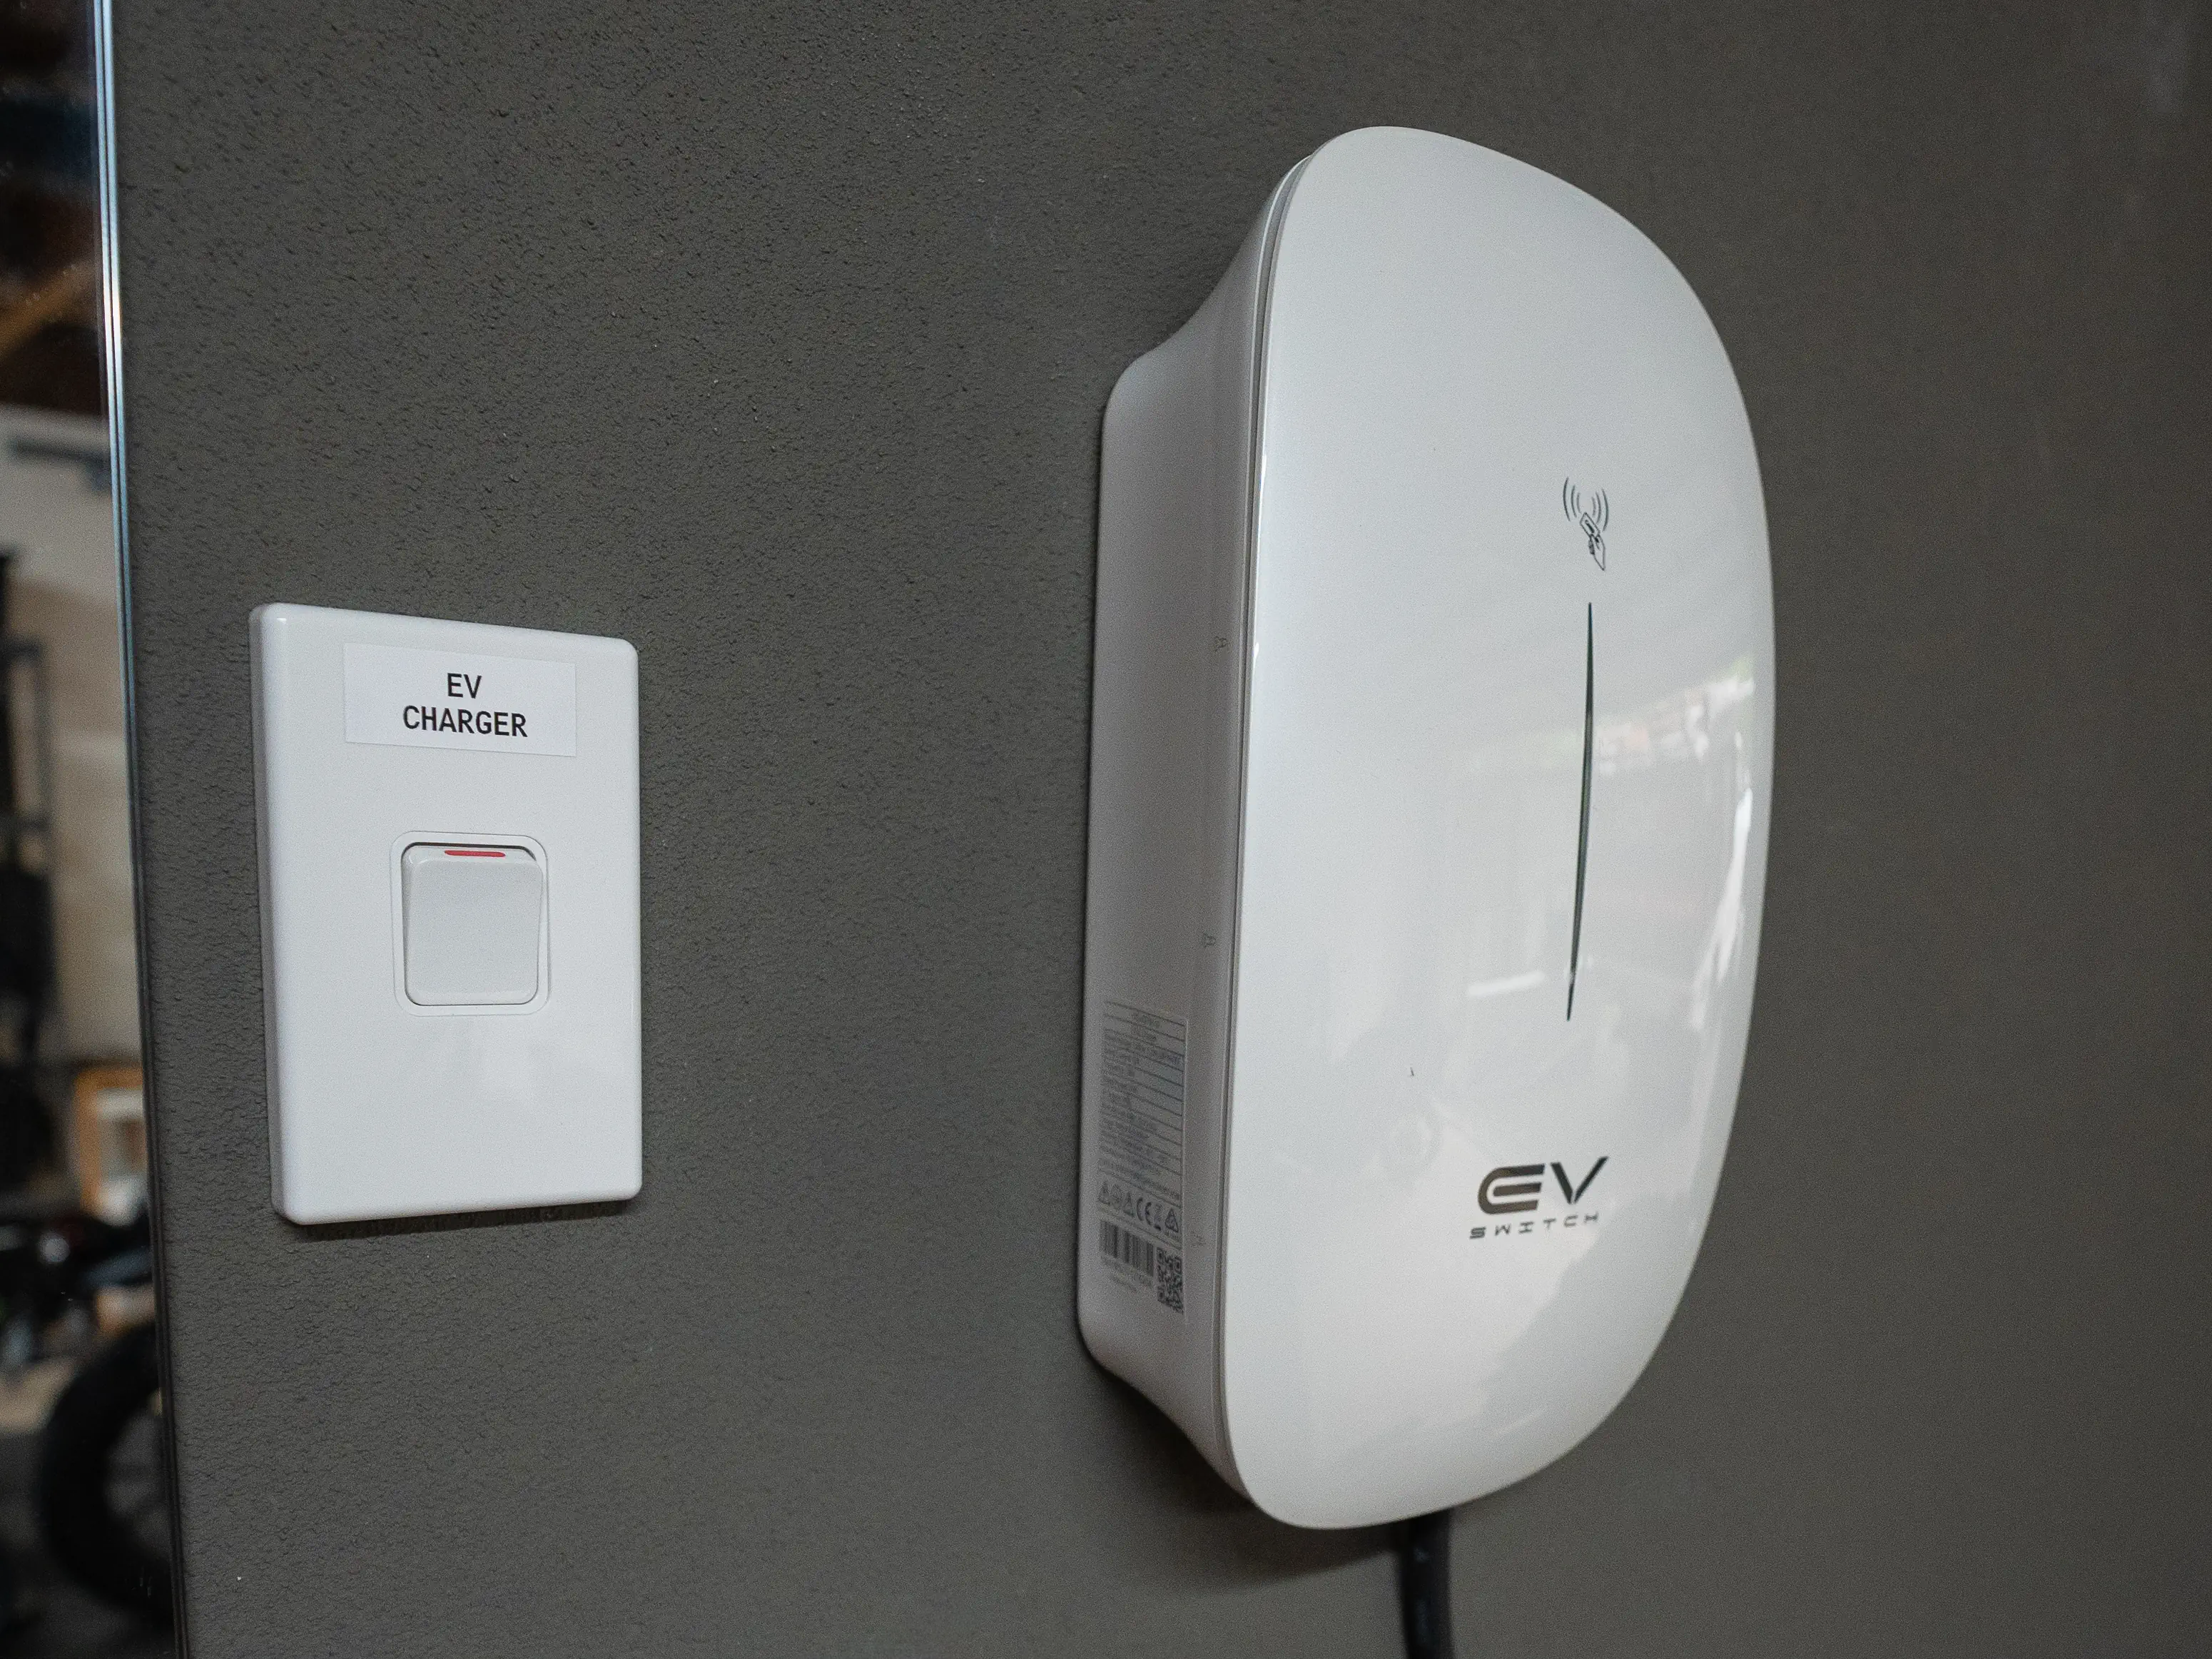
We recommended a 7 kW, 32 A EV Switch wall charger. This size suits most Australian homes and, over a typical 8–10 hour overnight window, can add around 40–50 kWh to the battery. For many mid sized EVs that is more than enough to comfortably cover daily commuting when you plug in regularly, even though exact charge times still depend on the battery size and how empty it is when you arrive home.
Because the cabling was already in place, the charger installation could focus on neatness and testing, not on opening walls or running new external conduit.
Execution: using pre installed cabling to keep the job simple
On installation day, the steps were straightforward:
- Locate and verify the pre installed cabling under the floor that had been run during the original switchboard upgrade.
- Mount the EV Switch wall charger in the agreed position near Jack’s parking spot.
- Connect and terminate the circuit at both the switchboard and the charger, with appropriate circuit protection and load considerations.
- Test performance and safety, including load balance, correct RCD selection for the charger and charger functionality. For residential EV chargers this means complying with AS/NZS 3000:2018 by using either a Type A RCD together with a charger that has built in DC leakage detection (RDC-DD), or a suitable Type B RCD where the charger does not provide this feature.
- Confirm app control and user settings, so Jack could manage charging easily.
The generous under floor access at the property meant we could keep all cabling hidden. There were no messy external runs, surface conduit or extra holes to patch. The result is a clean installation that looks like it has always been part of the home.
Looking further ahead: solar ready from day one
Jack also plans to install solar in the near future. Instead of waiting for the solar company to arrive and then rework the board again, we took a future ready approach while we were already on site:
- Installed a spare breaker in the switchboard dedicated to future solar integration
- Ran cabling into the ceiling space, ready for the solar installers to connect
- Confirmed that the EV charger setup will support charging from surplus solar generation when the system is installed
This planning means the future solar team can work faster and with fewer disruptions. There is less time spent tracing circuits or rearranging the board and more time focused on commissioning the panels themselves.
The result: charge ready now, solar ready later
Jack now has a home charging setup that is:
- Clean and seamless
No visible conduit or surface cabling, just a tidy wall mounted charger near the parking space. - Fast and reliable for daily use
A 7 kW, 32 A EV Switch charger that comfortably handles typical daily top up charging on a dedicated circuit, with realistic overnight energy added that suits most commuting patterns. - Future ready
Wiring and spare capacity are already in place for solar, which will reduce installation time and cost when the panels go in.
Most importantly, the system has been installed by a licensed electrician with over a decade of experience, covered by JPG Tech’s lifetime workmanship warranty, and backed by a Certificate of Electrical Safety in line with Victorian requirements so Jack has the documentation insurers and regulators expect.
What homeowners can learn from this project
If you are renovating, upgrading your switchboard or planning other electrical work, it often makes sense to think a step ahead.
Mention future plans early. If you are considering an EV, solar, a spa or other high demand appliance, tell your electrician while designs are still flexible. Use open access wisely. When floors, ceilings or trenches are already open, extra cabling can often be installed with minimal extra labour. Leave capacity in your board. A little extra planning in the switchboard can save an additional upgrade later.
Finally, choose an electrician who is used to planning for future loads. JPG Tech regularly designs electrical work for homes, businesses and farms across South East Melbourne and the Yarra Valley with this “do it once, do it right” mindset.
FAQs
Do I need to upgrade my switchboard before installing a home EV charger?
In many older homes, the switchboard does need an upgrade before it can safely support a 7 kW charger on a dedicated circuit. During a site visit we assess your existing board, protective devices and demand from other appliances, then advise whether an upgrade is required or if a lower capacity solution would be better.
Can I install an EV charger now and add solar later?
Yes. As this Sassafras project shows, you can install an EV charger now and set up the wiring so it is ready to integrate with solar in future. Adding spare capacity and pre running cabling for the solar installers keeps the later job faster and cleaner.
What size EV charger is right for a typical home?
For most households, a 7 kW single phase charger is a good balance between charging speed and the capacity of a standard residential supply. As a guide, over an 8–10 hour overnight period it can add enough energy for most daily commutes, especially if you are topping up each night rather than charging from empty. Larger batteries or three phase chargers are best assessed on a case by case basis.
What sort of RCD protection does my EV charger need?
Australian Standards require RCD protection, but the exact type depends on the charger. Some units include built in DC fault detection (RDC-DD), which allows them to be used with a Type A RCD. Others require a Type B RCD that can handle DC leakage itself. Your electrician will confirm which combination is appropriate for your model and installation.
%20Large.jpeg)